Never Miss a Spot Again With This Easy Bathroom Cleaning Routine
To never miss a spot again, gather your cleaning supplies like all-purpose cleaner and microfiber cloths. Start with the shower and tub, tackling grout and mold. Clean the toilet thoroughly with natural ingredients, and don’t forget the sink and countertops. Wipe down mirrors for a streak-free shine, and pay attention to the floors. Freshen the air with a light spritz of disinfectant. Stick around, and you’ll discover more tips to keep your bathroom sparkling clean!
Key Takeaways
- Assemble all necessary cleaning supplies in one location for efficiency and ease of access during the cleaning process.
- Clean shower, tub, and toilet regularly, focusing on grout lines and stubborn stains for a thorough clean.
- Use a consistent routine for sinks and countertops, removing items before applying cleaner and ensuring all corners are addressed.
- Employ proper techniques for streak-free shine on mirrors and fixtures, using a microfiber cloth and high-quality cleaner.
- Establish a cleaning schedule that includes weekly upkeep and monthly deep cleaning tasks to prevent grime buildup and maintain cleanliness.
Gather Your Cleaning Supplies
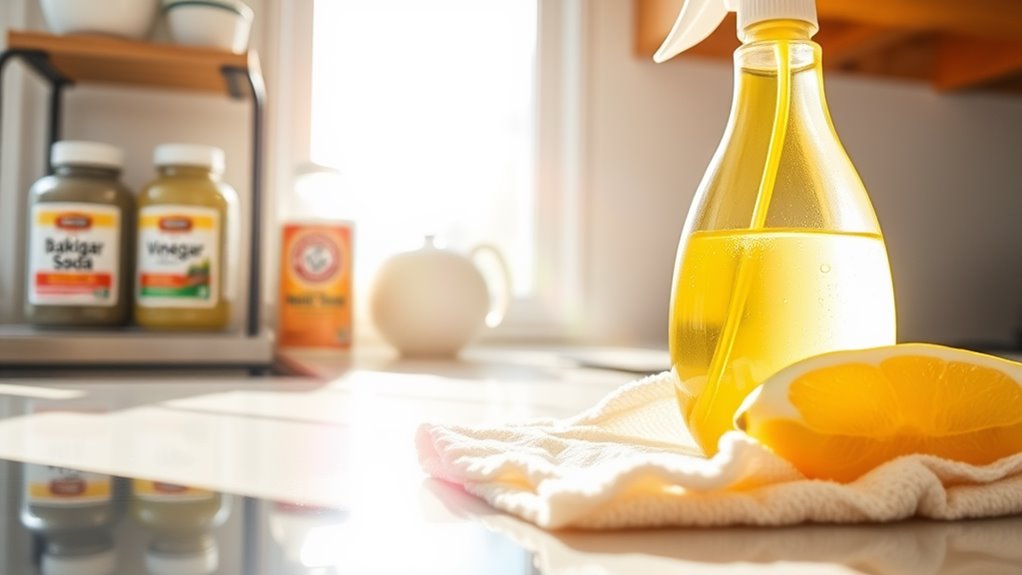
Before you plunge into your bathroom cleaning routine, it’s essential to gather your cleaning supplies. Start by assembling all-purpose cleaner, disinfectant, a toilet bowl cleaner, sponges, microfiber cloths, and a scrub brush.
Don’t forget rubber gloves to protect your hands. A bucket can also be handy for transporting items. Consider adding specialized tools like a squeegee for mirrors and a grout brush for stubborn stains. Using a DIY bathroom cleaner can be an effective choice, as it often utilizes safe and affordable ingredients found at home. Many of these ingredients can be found in your kitchen, which makes embracing natural cleaners a simple and convenient option.
Once you’ve got everything in one place, you’ll streamline your process, making it efficient and effective. Eco-friendly bathroom cleaners can also be made at home, providing a cost-effective and safe alternative to commercial products. Additionally, incorporating natural ingredients into your cleaning routine can enhance the effectiveness of your cleaning efforts, especially when you use non-toxic options that are safe for families and the environment.
Being organized sets the tone for a successful cleaning session. With your supplies ready, you can focus on tackling each task with confidence, ensuring your bathroom routine isn’t just thorough but also satisfying.
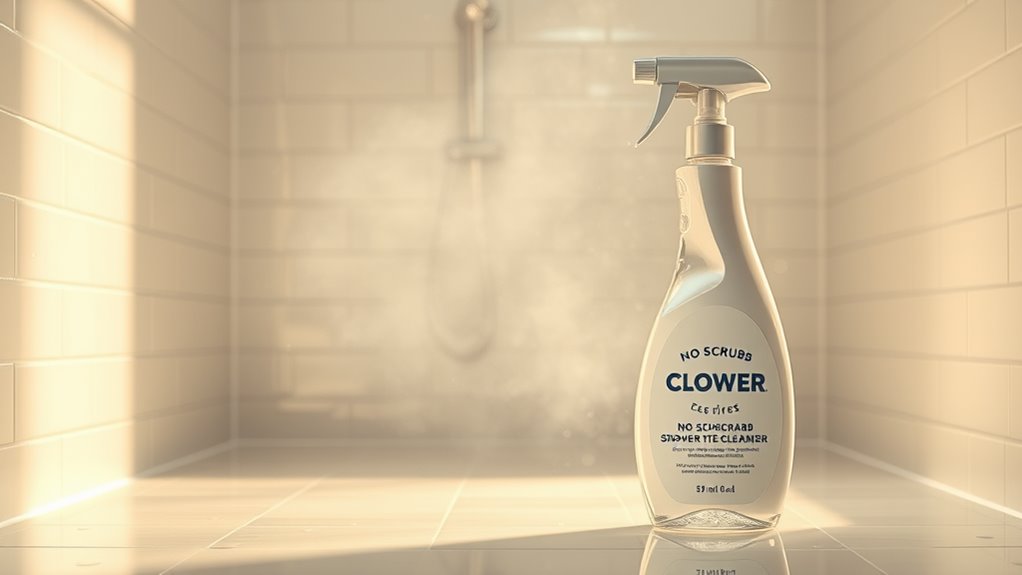
Start With the Shower and Tub
Before you tackle the shower and tub, make sure you’ve got all your cleaning supplies ready.
Start by focusing on those grout lines, as they often trap dirt and grime. Utilizing natural cleaning ingredients can be a highly effective way to combat mold growth in these areas. Regularly cleaning your shower helps to ensure proper ventilation and minimize moisture buildup. Additionally, using a proven technique like scrubbing with a toothbrush can help reach those stubborn spots. One way to enhance your cleaning routine is to incorporate eco-friendly solutions that not only fight mold but also promote a healthier environment. To further prevent mold, consider using a DIY cleaning solution made from common household items. Once you’ve scrubbed, rinse and wipe everything down for a sparkling finish.
Gather Cleaning Supplies First
To tackle your bathroom cleaning effectively, start by gathering all the necessary supplies.
You’ll need a reliable all-purpose cleaner, a scrub brush, microfiber cloths, and a sponge. Don’t forget a toilet cleaner and a dedicated toilet brush. If you have hard water stains, consider adding a vinegar solution or a lime scale remover to your toolkit.
Once you’ve assembled everything, make sure you have gloves to protect your hands and a bucket for easy transport.
This preparation sets you up for success, ensuring you won’t waste time searching for items mid-cleaning.
With your supplies in hand, you’re ready to plunge into scrubbing the shower and tub, creating a sparkling clean space that feels fresh and inviting.
Focus on Grout Lines
While you may be tempted to clean the surfaces first, focusing on the grout lines in your shower and tub is essential for a truly deep clean. Grout is often overlooked, yet it can harbor mold, mildew, and grime.
Start by applying a specialized grout cleaner or a paste made from baking soda and water directly onto the grout lines. Let it sit for a few minutes to penetrate stubborn stains.
Then, using a stiff-bristled brush, scrub the grout vigorously. This action not only lifts dirt but also revitalizes the grout’s appearance. Rinse thoroughly to verify no residue remains.
Rinse and Wipe Down
Start by rinsing down the shower and tub to remove any remaining cleaning solution, dirt, and grime. Use a handheld showerhead or a bucket to guarantee you cover all surfaces. After rinsing, grab a microfiber cloth or sponge to wipe down the surfaces. Pay special attention to corners and fixtures, as these areas often collect soap scum.
| Task | Frequency |
|---|---|
| Rinse shower/tub | Weekly |
| Wipe surfaces | Weekly |
| Clean fixtures | Bi-weekly |
| Check for mold | Monthly |
| Deep clean | Quarterly |
Clean the Toilet Thoroughly
Cleaning the toilet thoroughly is vital for maintaining a hygienic bathroom environment. Start by applying a high-quality toilet cleaner under the rim, allowing it to sit for a few minutes. This dwell time enhances its effectiveness against stains and germs. Additionally, using a high-quality cleaner can significantly reduce the need for scrubbing. For a more eco-friendly approach, consider using natural ingredients like vinegar and baking soda, which are effective in breaking down stains and disinfecting surfaces. You can also create natural toilet cleaning bombs using ingredients like baking soda and citric acid for a powerful cleaning solution. A well-planned cleaning routine helps ensure that your toilet remains in optimal condition.
While you wait, tackle the exterior. Use an all-purpose cleaner on the tank, lid, and base, wiping with a microfiber cloth for maximum dirt removal.
Next, scrub the bowl with a toilet brush, focusing on stubborn stains and mineral deposits. Don’t forget to clean under the rim and the waterline. Additionally, ensure you disassemble the seat hinges to eliminate hidden bacteria that often accumulate in that area.
Finally, flush to rinse away the cleaner and debris. For an extra touch, consider using a toilet bowl deodorizer. This thorough routine guarantees your toilet stays fresh and pristine.
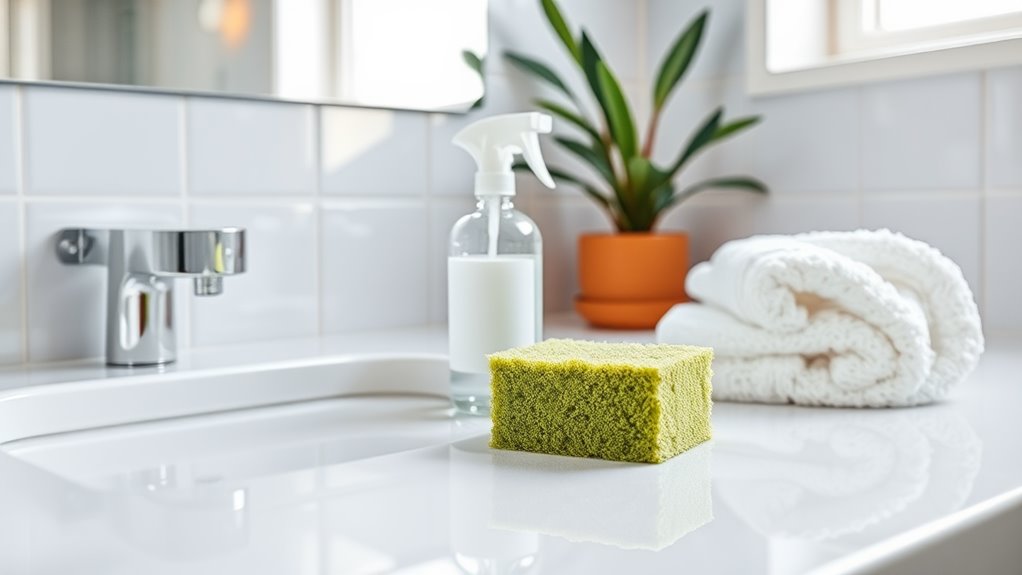
Tackle the Sink and Countertops
After ensuring your toilet is spotless, shift your focus to the sink and countertops. These areas can harbor grime and bacteria, so it’s essential to tackle them with precision. Start by removing all items from the surfaces. Next, spray an effective cleaner and let it sit for a few minutes. Wipe down with a microfiber cloth, ensuring you get into all corners. Use the table below to keep track of your cleaning products and their specific uses:
| Product | Use | Notes |
|---|---|---|
| All-Purpose | General surface cleaning | Safe for most surfaces |
| Disinfectant | Bacteria and virus removal | Use on high-touch areas |
| Glass Cleaner | Shine and streak-free finish | For glass surfaces |
| Scrub Brush | Tough stains | Use with caution |
| Microfiber Cloth | Lint-free wipe | Best for final touch |
This approach guarantees a pristine finish.
Wipe Down Mirrors and Fixtures
Now that you’ve tackled the sink and countertops, it’s time to focus on your mirrors and fixtures.
Choosing the right cleaner and using a microfiber cloth can make all the difference in achieving a streak-free shine.
Let’s explore some effective techniques to leave your bathroom sparkling.
Choose the Right Cleaner
How do you keep your mirrors and fixtures sparkling clean? The right cleaner makes all the difference. Select a cleaner that tackles grime without leaving streaks. Below is a guide to help you choose:
| Cleaner Type | Best For | Key Ingredient |
|---|---|---|
| Glass Cleaner | Mirrors and glass surfaces | Ammonia |
| All-Purpose Cleaner | General fixtures | Surfactants |
| Vinegar Solution | Eco-friendly option | Acetic acid |
| Disinfectant Spray | Germ-prone areas | Alcohol or bleach |
| Specialty Cleaner | Hard water stains | Citric acid |
Use a Microfiber Cloth
Using a microfiber cloth is essential for achieving a streak-free shine on your mirrors and fixtures. These cloths are designed to lift and trap dirt, dust, and grime without scratching surfaces.
When you wipe down your mirrors, start at the top and work your way down to avoid drips and streaks. For fixtures, use a gentle touch to remove water spots and fingerprints.
Remember to change the cloth frequently to maintain its effectiveness—dirt buildup can lead to streaks instead of shine. If you want to elevate your cleaning game, consider dampening the cloth slightly for stubborn spots.
This simple tool will transform your cleaning routine, leaving your bathroom sparkling and inviting.
Techniques for Streak-Free Shine
Achieving a streak-free shine on your mirrors and fixtures requires a few effective techniques.
Start by selecting a high-quality glass cleaner or a vinegar-water solution. Spray the cleaner directly onto the surface, but avoid soaking it.
Using a microfiber cloth, wipe in a circular motion to lift dirt and grime. Then, switch to a vertical or horizontal motion to guarantee even coverage.
For tough spots, don’t hesitate to apply a bit more cleaner and repeat. Always use a dry section of your cloth to buff away any remaining moisture.
Finally, finish with a final wipe using a clean, dry cloth to catch any missed streaks. Master these steps, and your bathroom will gleam with brilliance!
Focus on the Floors
The bathroom floor often bears the brunt of spills and grime, making it essential to give it some extra attention during your cleaning routine.
Begin by sweeping or vacuuming to eliminate loose debris, ensuring a clean slate. Next, choose a high-quality floor cleaner suitable for your flooring type—tile, vinyl, or laminate.
Apply the cleaner evenly, allowing it to penetrate tough stains. Use a microfiber mop or cloth, working in sections for thorough coverage. Don’t forget to tackle corners and edges, where dirt tends to accumulate.
For stubborn spots, consider a gentle scrub brush. Finally, rinse the mop regularly to prevent spreading dirt.
Freshen Up the Air
To guarantee your bathroom feels as invigorating as it looks, tackling the air quality is just as important as cleaning surfaces.
Start by opening windows and doors to allow fresh air to circulate. If that’s not an option, invest in a high-quality air purifier.
Essential oils also work wonders; add a few drops of your favorite scent to a diffuser or cotton ball to uplift the atmosphere.
Baking soda can neutralize odors—place an open container in your bathroom for a subtle, continuous freshening effect.
Finally, consider natural plants, like peace lilies or spider plants, which can purify the air while adding a touch of greenery.
With these simple steps, your bathroom will exude an invigorating ambiance, complementing your cleaning efforts.
Establish a Cleaning Schedule
While it might feel tempting to clean your bathroom all at once, establishing a regular cleaning schedule can make the task more manageable and effective.
Start by designating specific days for different cleaning tasks—perhaps deep cleaning the shower on Sundays and wiping surfaces on Wednesdays. By breaking it down, you’ll avoid burnout and maintain a consistently clean space.
Consider a weekly routine for general upkeep and a monthly schedule for deeper cleans, like scrubbing grout or organizing cabinets. You’ll find that regular maintenance not only saves time but also prevents grime buildup.
Stick to your plan, and you’ll cultivate a habit that transforms your bathroom into a sparkling sanctuary, allowing you to enjoy mastery over your cleaning routine.
Frequently Asked Questions
How Often Should I Replace My Cleaning Supplies?
You should replace your cleaning supplies regularly to maintain effectiveness. Typically, sponges and cloths should be changed every few weeks, while mops and brushes can last a few months. Trust your instincts and replace them as needed.
Can I Use Vinegar on All Surfaces?
You can use vinegar on many surfaces, like glass and countertops, but avoid it on natural stone or wood. Always test a small area first to guarantee it won’t damage the finish or surface integrity.
What’S the Best Way to Remove Hard Water Stains?
To remove hard water stains, create a paste with baking soda and vinegar. Apply it to the stains, let it sit for 15 minutes, then scrub with a soft cloth before rinsing thoroughly.
How Do I Clean Bathroom Grout Effectively?
To clean bathroom grout effectively, mix equal parts vinegar and baking soda, apply it with a brush, and scrub. Rinse thoroughly with water, and you’ll see a significant improvement in the grout’s appearance.
Are There Eco-Friendly Cleaning Products Available?
Yes, there are plenty of eco-friendly cleaning products available. You can find options made from natural ingredients, like vinegar and baking soda, which effectively clean without harming the environment or your health. Give them a try!