My Go-To Method for Fast Tile Cleaning When I’m in a Rush
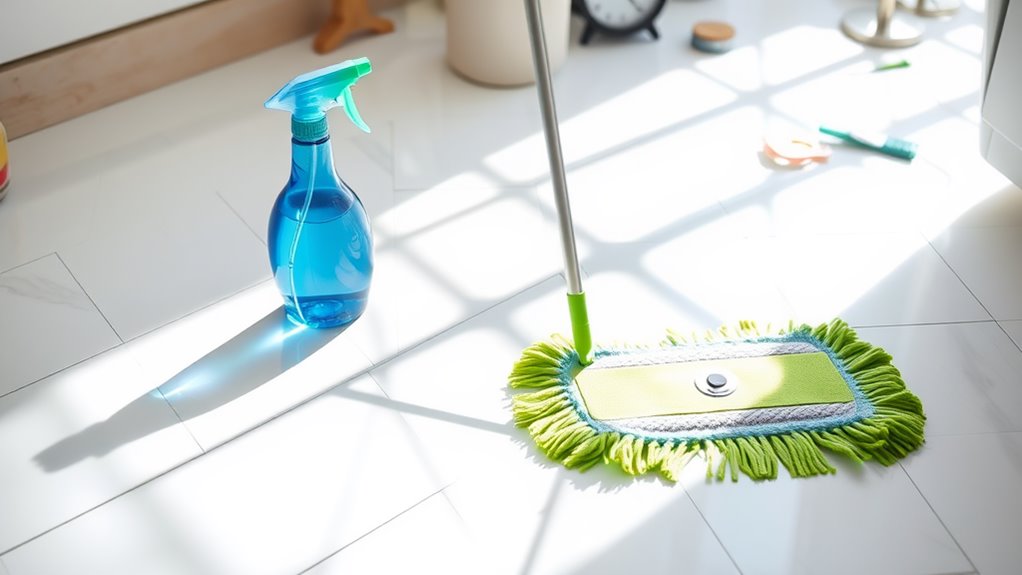
When you’re in a rush, gather your essential supplies like a high-quality tile cleaner, microfiber mop, and a bucket. First, declutter the area and sweep or vacuum to eliminate dirt. Mix the cleaner with water, mop the tiles, and don’t forget to tackle stubborn stains with baking soda or vinegar solutions. Rinse with clean water and dry with a microfiber cloth for a spotless finish. Stick around for more tips to keep your tiles looking great effortlessly!
Key Takeaways
- Gather essential supplies like a high-quality tile cleaner, mop, and microfiber cloth for quick access during cleaning.
- Quickly declutter the area by removing rugs and furniture to create an efficient workspace.
- Sweep or vacuum to remove loose dirt before mopping for a faster clean.
- Mix a pH-balanced tile cleaner with water, and mop the tiles systematically for maximum coverage.
- Use a squeegee and microfiber cloth to rinse and dry tiles, ensuring no streaks are left behind.
Essential Supplies for Quick Tile Cleaning
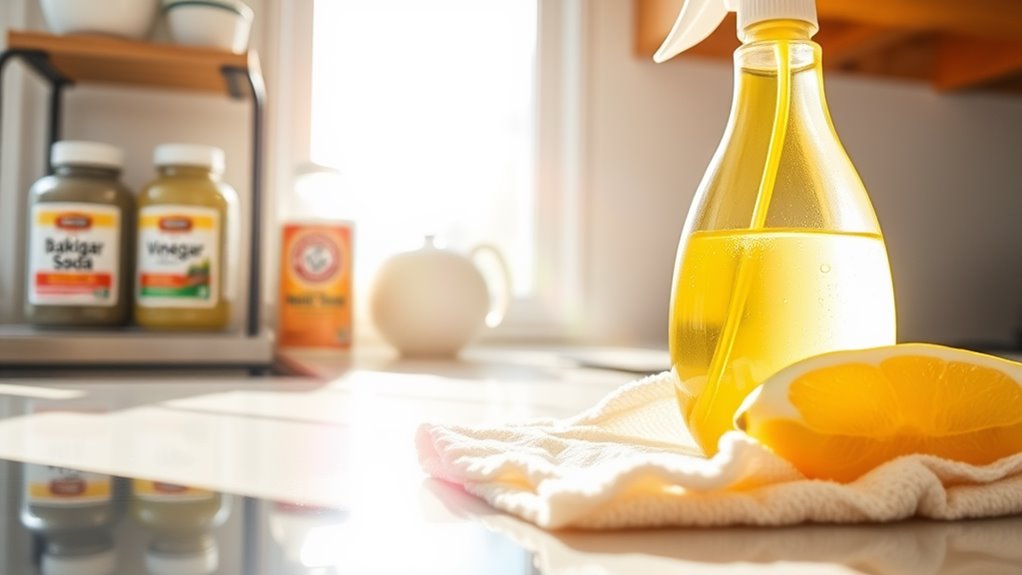
To tackle tile cleaning efficiently, you’ll need a few essential supplies that make the job easier and quicker. First, grab a high-quality tile cleaner that’s effective yet gentle on surfaces. Effortless tile cleaning can be achieved with the right products and techniques, making your task simpler. Additionally, consider using eco-friendly alternatives to harsh chemicals for a safer cleaning experience. A homemade cleaning spray made with common household ingredients can also provide effective results. In fact, many people find that using essential DIY ingredients can enhance the cleaning efficacy of their solutions.
A sturdy scrub brush or a microfiber mop will be your best friends for that quick tile clean, ensuring you reach all those nooks and crannies. Don’t forget a bucket for mixing your cleaning solution and a squeegee to remove excess water.
A pair of rubber gloves will protect your hands while you scrub away grime. Finally, keep a soft cloth handy for drying and shining tiles afterward. Using a common household ingredient like vinegar or baking soda can enhance your cleaning power for tougher stains.
With these supplies at your disposal, you’ll turn a tedious chore into a streamlined process, mastering the art of fast tile cleaning in no time.
Preparing Your Space for Efficient Cleaning
Creating a clean and organized environment is key to efficient tile cleaning. Start by decluttering the area; remove any furniture, rugs, or decorative items that might obstruct your access. This not only streamlines your process but also prevents obstacles from getting in the way. Additionally, following a systematic cleaning order can help you achieve better results in less time. A detailed cleaning guide can provide you with a structured approach to tackle every corner effectively.
Next, sweep or vacuum the floor thoroughly to eliminate dust and debris—this sets the stage for a more effective clean. To maintain cleanliness, consider using natural cleaning solutions that are safe for your tiles and the environment. Incorporating deep cleaning techniques can further enhance the effectiveness of your tile cleaning routine.
Finally, make sure your cleaning supplies are easily accessible, laying them out in the order you’ll use them. A well-prepared space minimizes distractions and maximizes your focus, allowing you to tackle tile cleaning with precision and speed. Additionally, ensuring you have the right cleaning supplies on hand can significantly enhance your efficiency during the process.
The 15-Minute Cleaning Routine
While you might think that deep cleaning tiles requires hours of effort, a focused 15-minute routine can make a significant difference. Start by gathering your supplies: a bucket, a mop, tile cleaner, and a microfiber cloth. Consider using eco-friendly solutions to minimize your environmental impact while cleaning. Regularly using smart shortcuts can further streamline the process. Adding innovative techniques to your routine can enhance efficiency and results.
Incorporating a consistent cleaning schedule can help you stay on top of your tile maintenance. Begin by sweeping or vacuuming the area to remove loose dirt. Next, mix your cleaner with water in the bucket, then mop the tiles systematically, focusing on one section at a time. Rinse the mop frequently to avoid spreading grime.
After mopping, use the microfiber cloth to wipe down edges and corners, ensuring no residue remains. Finally, let the floor air dry for a spotless finish. This swift routine not only saves time but also keeps your tiles looking their best. Implementing a balanced weekly schedule can help maintain this cleanliness routine effortlessly.
Effective Techniques for Stubborn Stains
Stubborn stains can be a real headache, but tackling them doesn’t have to be an intimidating task. Start by identifying the stain type—grease, dirt, or mildew—and adjust your approach accordingly.
For greasy stains, sprinkle baking soda over the area and scrub with a damp cloth; it works wonders. For dirt, a mixture of vinegar and water can break down the grime. When it comes to mildew, use a stiff brush with a little salt to scrub away those pesky spots.
Always test any technique in a small area first to verify it won’t damage your tile. With these methods, you’ll regain control and keep your tiles looking pristine, even under pressure.
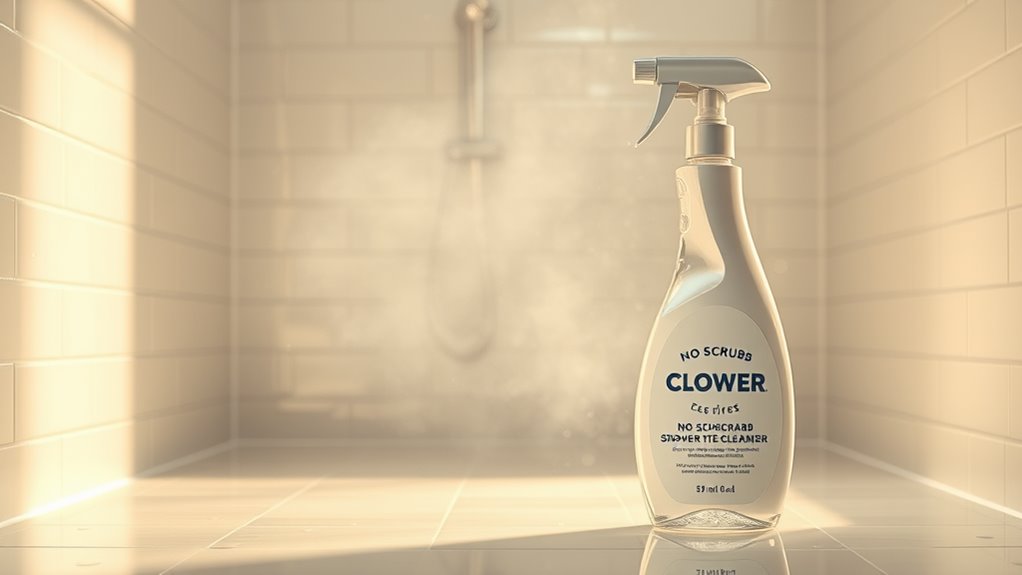
Utilizing the Right Cleaning Solutions
When it comes to tile cleaning, choosing the right cleaner can make all the difference.
You’ll want to weigh the benefits of natural versus chemical solutions to find what works best for your specific needs.
The right choice not only enhances effectiveness but also guarantees your tiles stay in great condition for longer.
Choosing Effective Cleaners
Choosing the right cleaning solutions can make all the difference in achieving spotless tiles. Start by identifying the type of tile you’re dealing with, as different surfaces require specific cleaners.
For glazed tiles, a gentle pH-balanced cleaner works wonders, while unglazed tiles may benefit from a more robust solution. Always read labels to confirm compatibility and effectiveness against grime.
Consider opting for products that target mold, mildew, or soap scum, as these are common culprits in tile cleaning.
Don’t forget to keep a reliable all-purpose cleaner on hand for quick touch-ups. With the right cleaner, you’ll not only save time but also enhance the longevity of your tiles, guaranteeing they sparkle with minimal effort.
Natural vs. Chemical Solutions
While you may lean towards either natural or chemical cleaning solutions, understanding their strengths can help you make an informed choice for tile maintenance.
Natural solutions, like vinegar and baking soda, are eco-friendly and safe for your family, but they might require more elbow grease and time for tough stains.
On the other hand, chemical cleaners often deliver quicker results, tackling grime and mold effectively, but they can emit harsh fumes and may not be safe for all surfaces.
To master tile cleaning, assess your priorities—speed versus safety.
For routine maintenance, a natural approach works well. For deep cleaning, don’t hesitate to reach for a chemical solution, ensuring you follow the manufacturer’s instructions for ideal results.
Rinsing and Drying for a Polished Finish
To achieve a polished finish on your tiles, rinsing and drying are essential steps that shouldn’t be overlooked. Skipping these stages can leave residue and streaks, diminishing your hard work.
Here’s how to guarantee your tiles shine:
-
Rinse Thoroughly: After cleaning, use clean water to rinse the tiles, removing any remaining cleaning solution. This step prevents residue buildup.
-
Use a Squeegee*: For a *quick drying process, employ a squeegee to push excess water off the tiles. This minimizes water spots and streaks.
-
Dry with Microfiber Cloths****: Finish by wiping the tiles with microfiber cloths. They’re absorbent and effective at buffing the surface for a brilliant, polished look.
Tips for Maintaining Clean Tiles Between Deep Cleans
To keep your tiles looking great between deep cleans, quick daily wipe-downs can make a big difference.
Regular grout maintenance is key, too, as it helps prevent dirt buildup.
Additionally, using protective mats at entryways can shield your tiles from scratches and stains.
Quick Daily Wipe-Downs
Even if you’ve just finished a deep clean, daily wipe-downs can keep your tiles looking fresh and prevent grime buildup.
Incorporating a quick cleaning routine into your day can save you time and effort in the long run. Here are three effective tips:
-
Use a Microfiber Cloth****: Dampen a microfiber cloth with warm water for peak dirt removal. It’s gentle yet effective on tile surfaces.
-
Apply a Gentle Cleaner****: Choose a pH-balanced cleaner. A few sprays on your cloth or directly on the tiles can tackle any spots without damaging the finish.
-
Establish a Routine: Dedicate a few minutes each day, perhaps after meals or before bed, to wipe down high-traffic areas.
Consistency is key for mastery.
Regular Grout Maintenance
Daily wipe-downs keep your tiles looking fresh, but don’t forget about the grout! Regular maintenance is key to preventing discoloration and buildup.
After your daily cleaning, grab a soft-bristle brush and a mild grout cleaner. Gently scrub the grout lines to remove any lingering dirt. For a natural option, a paste of baking soda and water works wonders.
Next, rinse the area thoroughly to eliminate any residue. To keep your grout looking pristine, seal it every six months. This barrier helps repel stains and moisture.
Finally, address spills immediately to prevent staining. By consistently maintaining your grout, you’ll enhance your tile’s overall appearance and minimize the need for extensive deep cleaning later on.
Keep it up, and enjoy those gleaming tiles!
Use Protective Mats
Using protective mats is a smart way to keep your tiles clean between deep cleans.
These mats not only trap dirt but also reduce wear and tear on your flooring.
Here are three essential types of mats you should consider:
-
Entry Mats: Place them at entrances to catch mud and debris before it reaches your tiles.
-
Kitchen Mats: Use absorbent mats in cooking areas to soak up spills and prevent stains.
-
Bathroom Mats: Strategically position mats near sinks and tubs to capture moisture and minimize slipping.
Quick Cleanup: Aftercare for Your Supplies
Maintaining your cleaning supplies is essential for achieving the best results in tile care. After you finish cleaning, take a moment to properly care for your tools.
Rinse mops and brushes thoroughly to remove any residue, guaranteeing they’re ready for your next task. For spray bottles, empty any leftover cleaning solution and wipe down the nozzle to prevent clogging.
Don’t forget to clean your bucket; a quick rinse will do wonders. Store everything in a dry, organized space to avoid mold and damage.
Regularly inspect your supplies for wear and tear—replace anything that’s showing signs of age. By investing this little extra time, you’ll guarantee your tools perform at their best, making your future tile cleaning endeavors even smoother.
Frequently Asked Questions
How Often Should I Clean My Tiles for Best Results?
To achieve the best results, you should clean your tiles at least once a week. Regular maintenance prevents buildup and keeps them looking fresh. Don’t forget to address spills immediately to avoid stains.
Can I Use Vinegar on All Tile Types?
You shouldn’t use vinegar on all tile types. It’s safe for ceramic and porcelain, but can damage natural stone like marble or granite. Always check your tile material before applying vinegar for cleaning.
What Should I Do About Grout Discoloration?
To tackle grout discoloration, scrub the affected areas with a mixture of baking soda and water, or use a specialized grout cleaner. Rinse thoroughly, and seal the grout afterward to prevent future stains.
Are There Any Eco-Friendly Cleaning Solutions?
Absolutely, you can use eco-friendly solutions like vinegar and baking soda. They’re effective and safe. Mix equal parts vinegar and water, or sprinkle baking soda on tiles, then scrub. You’ll achieve a clean, green result.
How Can I Prevent Tiles From Getting Dirty Quickly?
To prevent tiles from getting dirty quickly, you should regularly sweep or vacuum to remove debris, use mats at entryways, and seal your tiles properly. These steps greatly reduce dirt accumulation and maintain your tiles’ appearance.