Don’t Skip This Step When Cleaning Your Bathroom Mirror
When cleaning your bathroom mirror, don’t skip the essential step of pre-dusting. Dust and debris can trap cleaner and cause streaks. Use a microfiber cloth or soft duster to wipe away any dust, especially in corners where it accumulates. This simple step makes a huge difference in achieving a clear reflection. Plus, it sets the stage for a better cleaning outcome. Want to know more tips for a spotless mirror? Keep going!
Key Takeaways
- Always pre-dust your bathroom mirror with a microfiber cloth to prevent streaks and ensure a clean surface for better results.
- Avoid using ammonia-based or vinegar cleaners, as they can leave harsh streaks or cloudy residue on the mirror.
- Use a gentle, ammonia-free glass cleaner, applying it directly to the mirror for even distribution without soaking.
- Wipe the mirror in straight lines from top to bottom with a microfiber cloth to capture drips and reduce streaks.
- Clean mirrors when not in direct sunlight to avoid quick drying, which can lead to streaks and smudges.
The Importance of Pre-Dusting
Before you grab that spray cleaner, it’s essential to pre-dust your bathroom mirror. Skipping this step is a common mirror mistake that can lead to streaks and smudges.
Dust and debris on the surface can become trapped in the cleaner, leaving you frustrated with less-than-perfect results. To master the art of mirror cleaning, grab a microfiber cloth or a soft duster and gently wipe the mirror’s surface. This simple action removes loose particles, ensuring your spray cleaner adheres effectively. As you pre-dust, pay attention to corners and edges where dust tends to accumulate. Additionally, pre-dusting techniques help prevent smearing and enhance the overall cleaning outcome. Regularly using a DIY streak-free mirror cleaner can also improve the shine and clarity of your mirrors. Remember, using common household items in your cleaning routine can further simplify the process and yield excellent results. For optimal shine, consider using vinegar and newspaper, which can create streak-free, sparkling glass surfaces. Using natural ingredients in your cleaner can also contribute to a healthier home environment.
Common Mistakes When Cleaning Mirrors
When cleaning your bathroom mirror, using the wrong products can lead to streaks and damage. Additionally, improper wiping techniques might leave behind residue or smudges. Let’s explore these common mistakes to guarantee your mirror shines beautifully. One effective way to ensure a clear view is to use preventive measures that help maintain a fog-free surface during hot showers. Utilizing natural disinfectants can also contribute to a cleaner environment while effectively removing grime and preventing buildup. Incorporating vinegar solutions into your cleaning routine can further enhance the effectiveness of your natural cleaning approach. Furthermore, selecting eco-friendly bathroom cleaners ensures that your cleaning process is both safe for your family and effective against dirt and stains. Additionally, using eco-friendly solutions can provide a safe and effective alternative to commercial cleaners that may contain harsh chemicals.
Wrong Cleaning Products
Using the wrong cleaning products can turn your bathroom mirror from spotless to streaky in no time.
To achieve that crystal-clear finish, avoid these common culprits:
-
Ammonia-based cleaners: They can leave behind harsh streaks and may damage coatings on your mirror.
-
Vinegar: While it’s great for many surfaces, vinegar can sometimes create cloudy streaks on mirrors.
-
Rough sponges: These can scratch the surface, leading to a dull appearance over time.
Instead, opt for a gentle glass cleaner or a DIY solution using water and dish soap.
With the right products, you’ll master the art of mirror cleaning, ensuring a reflective surface that shines bright every time.
Improper Wiping Technique
Choosing the right cleaning products is just the first step; improper wiping technique can still leave your bathroom mirror looking less than perfect. Many people make mistakes that lead to streaks or residue.
Here’s a quick guide to help you master your technique:
| Common Mistake | Correct Approach |
|---|---|
| Using circular motions | Wipe in straight lines |
| Starting with a dry cloth | Use a damp cloth first |
| Applying too much pressure | Use gentle, even strokes |
| Cleaning from top to bottom | Start from the center out |
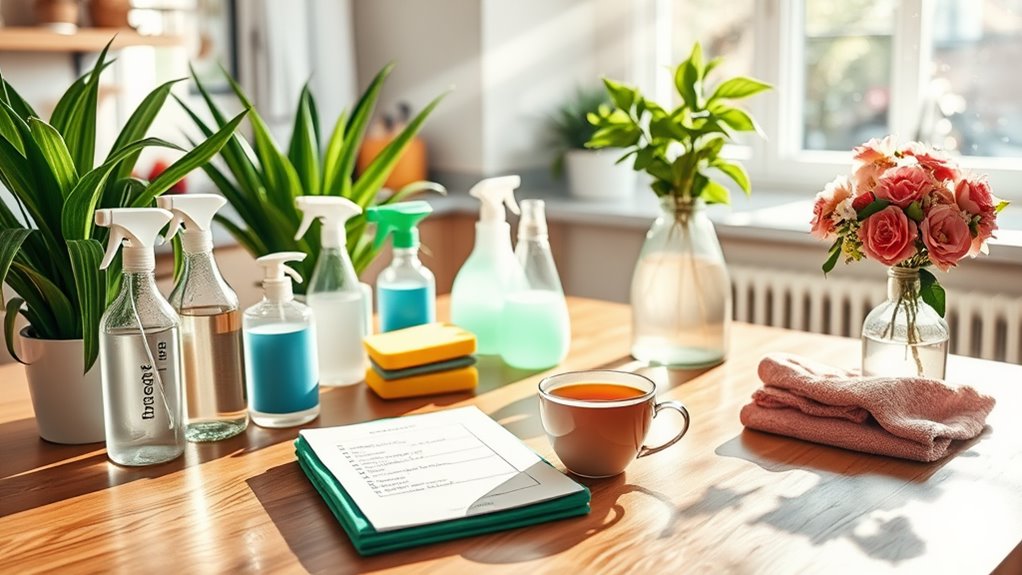
Tools You Need for Effective Pre-Dusting
To effectively pre-dust your bathroom mirror, you’ll need a few essential tools that make the process smooth and efficient.
Having the right items on hand guarantees you tackle dust and grime before you start the actual cleaning.
-
Microfiber Cloth: This is your best friend for trapping dust without scratching the surface.
-
Duster with Extendable Handle: Reach those tricky spots and corners with ease to guarantee a thorough pre-dust.
-
Vacuum Cleaner with Brush Attachment: Use this to remove dust from the edges and any surrounding areas, preventing it from settling back onto your mirror. Additionally, consider that frequently overlooked areas like doorknobs and light switches also accumulate dust and grime. Regularly sanitizing your surfaces can help reduce the buildup of bacteria and germs in your bathroom, as effective cleaning techniques are essential for maintaining a hygienic environment. To keep your cleaning efficient, remember that quick decluttering methods can also help create a more manageable and organized space.
In addition to these tools, remember that regular maintenance, such as cleaning faucets to prevent mineral deposits, can enhance the overall cleanliness of your bathroom.
With these tools, you’ll set yourself up for a sparkling clean mirror and a more effective cleaning session.
Step-by-Step Pre-Dusting Technique
Before you start cleaning your bathroom mirror, you need to gather some essential tools.
With the right supplies in hand, you can use effective dusting techniques to prep the surface.
Let’s go through the steps to make your mirror shine.
Essential Tools Needed
Gathering the right tools is vital for effectively cleaning your bathroom mirror. Having the right equipment not only simplifies the process but also guarantees a streak-free shine.
Here’s what you’ll need:
-
Microfiber Cloth: This is essential for dusting and polishing without scratching the surface.
-
Duster or Soft Brush: Use this to remove any dust and cobwebs from the edges and corners before you start cleaning.
-
Glass Cleaner: A high-quality glass cleaner will help you achieve that sparkling finish, so choose one that works well for you.
With these tools at your disposal, you’re setting yourself up for success.
Mastering the pre-dusting phase makes all the difference in your mirror cleaning routine!
Effective Dusting Techniques
With your tools ready, it’s time to focus on dusting your mirror effectively. Start by using a microfiber cloth; it’s gentle yet efficient.
Gently wipe the surface in a circular motion, working from top to bottom. This technique prevents dust from scattering and guarantees you catch every speck. For stubborn dust buildup, lightly dampen the cloth with water or a glass cleaner, but avoid saturating it.
Always remember to dust the frame and surrounding areas too, as these can harbor dust that eventually settles on the mirror.
Finish by inspecting for any missed spots, then give it a final dry wipe with a clean, dry microfiber cloth. This step ensures a spotless, gleaming finish that enhances your bathroom’s overall appearance.
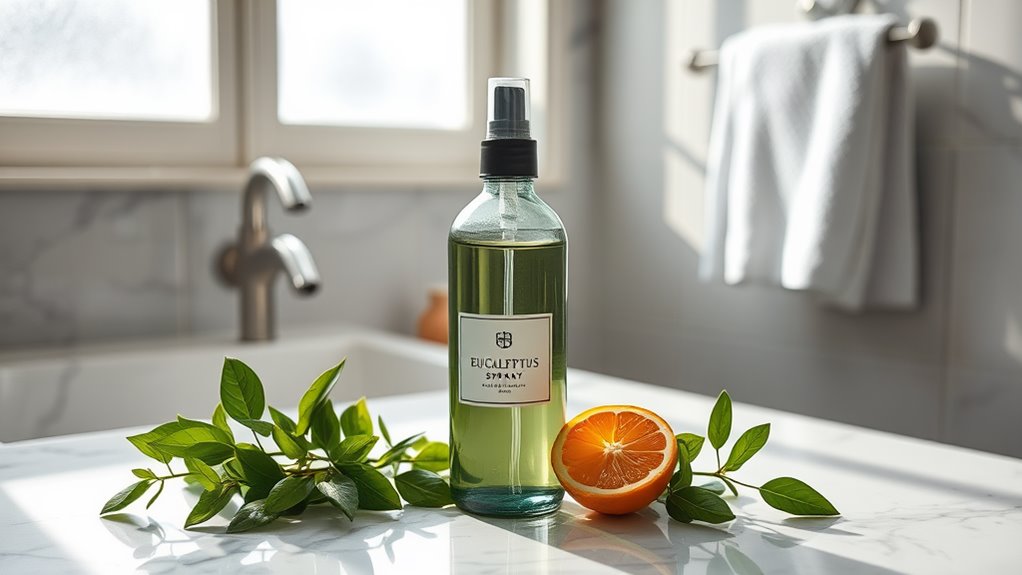
Choosing the Right Glass Cleaner
When it comes to cleaning your bathroom mirror, choosing the right glass cleaner can make all the difference.
Opt for a cleaner that not only eliminates streaks but also enhances clarity. Here are three key factors to evaluate:
-
Ammonia-Free Formulas: These are less harsh and won’t damage reflective coatings, ensuring your mirror stays in top condition.
-
Streak-Free Claims: Look for products specifically marketed as streak-free to minimize that annoying residue.
-
Eco-Friendly Options: If you’re environmentally conscious, search for biodegradable cleaners that still deliver exceptional results.
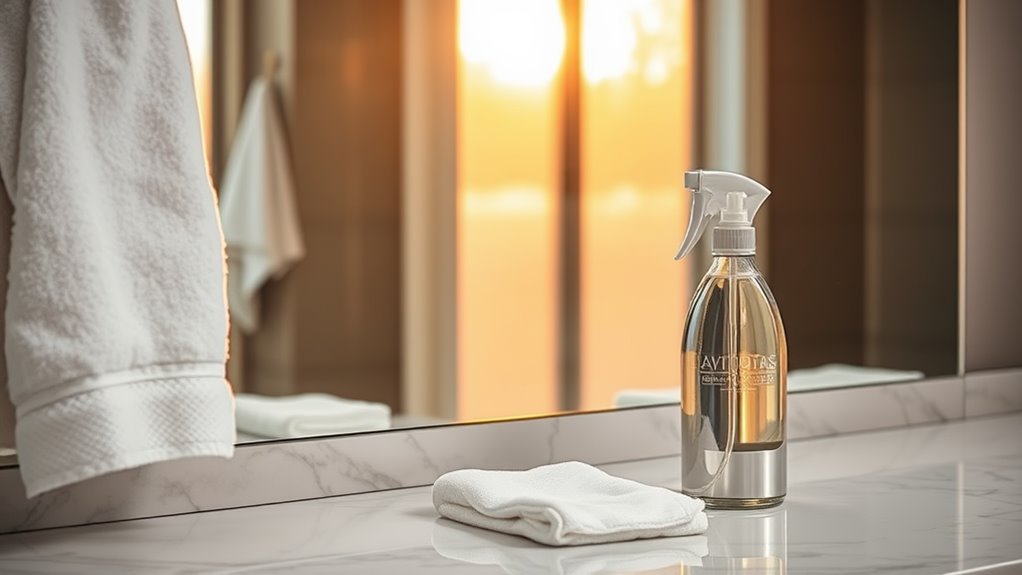
How to Apply Glass Cleaner for Best Results
After selecting the right glass cleaner, applying it effectively is key to achieving a spotless mirror.
Begin by shaking the bottle to guarantee an even mix of ingredients. Spray the cleaner directly onto the mirror, covering the entire surface without soaking it. Instead of spraying too much, focus on even distribution.
Use a microfiber cloth or a lint-free paper towel to wipe the surface, starting from the top and working your way down. This technique helps catch any drips and reduces the risk of streaks.
Keep the cloth moving in a circular or zigzag motion for thorough coverage. Remember, applying the cleaner efficiently sets the foundation for a gleaming finish, so don’t rush this essential step!
Tips for Streak-Free Finishing
To achieve a streak-free finish on your bathroom mirror, it’s crucial to pay attention to both technique and tools.
Start by choosing the right cloth—it should be microfiber for ideal absorption and minimal lint.
Next, follow these tips for a flawless shine:
-
Use a circular motion****: Wipe the mirror in small, overlapping circles. This helps prevent streaks and guarantees even coverage.
-
Avoid direct sunlight****: Clean your mirror when it’s not in direct sunlight, as heat can cause the cleaner to dry too quickly, leading to streaks.
-
Spray the cloth, not the mirror: Apply glass cleaner to your cloth instead of the mirror. This prevents excess cleaner from running down the surface and creating streaks.
With these techniques, you’ll master that perfect, streak-free shine!
Maintaining Your Mirror’s Clarity Long-Term
Although cleaning your bathroom mirror regularly can help maintain its clarity, there are additional steps you can take to guarantee it stays pristine over time.
First, avoid using abrasive materials that can scratch the surface. Instead, opt for microfiber cloths, which effectively lift dirt without causing damage.
Second, consider applying a thin layer of car wax or a specialized mirror treatment; this creates a protective barrier against moisture and smudges.
Third, control humidity in your bathroom by using exhaust fans during showers.
Finally, position your mirror away from direct sunlight to minimize fading and discoloration.
Frequently Asked Questions
How Often Should I Clean My Bathroom Mirror?
You should clean your bathroom mirror at least once a week to maintain clarity. If you notice spots or streaks more frequently, don’t hesitate to clean it sooner. Consistent care keeps it looking pristine.
Can I Use Vinegar Instead of Glass Cleaner?
Yes, you can use vinegar instead of glass cleaner. It cuts through grime effectively and leaves your mirror streak-free. Just mix equal parts vinegar and water in a spray bottle, and you’re good to go!
What’S the Best Time of Day to Clean Mirrors?
The best time to clean mirrors is early morning or late afternoon. You’ll avoid direct sunlight, which can cause streaks and make it harder to see smudges. Clean when light’s softer for ideal results.
Is It Safe to Use Paper Towels on Mirrors?
Using paper towels on mirrors isn’t ideal, since they can leave lint and streaks. Instead, opt for microfiber cloths or newspaper for a clearer finish. You’ll achieve a more polished look with these alternatives.
How Do I Remove Hard Water Stains From Mirrors?
To remove hard water stains from mirrors, mix equal parts vinegar and water in a spray bottle. Spray the solution on the stains, let it sit for a minute, then wipe with a microfiber cloth for clarity.