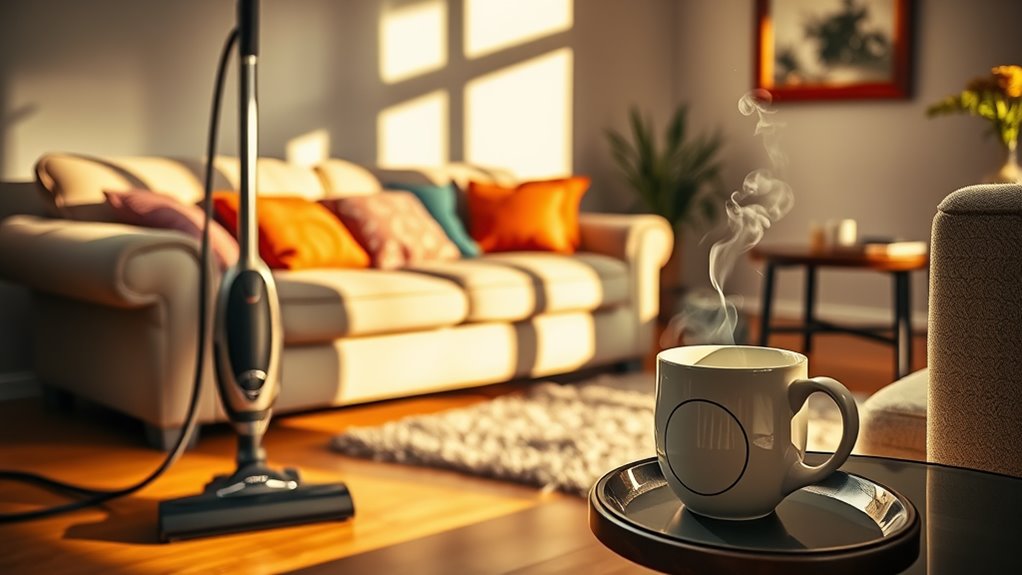
You Only Need 2 Ingredients for This DIY Floor Cleaner
You only need two ingredients for this effective DIY floor cleaner: vinegar and water. Just mix equal parts vinegar and water in a spray bottle for a safe, eco-friendly solution that cuts through grime and odors. It’s a budget-friendly choice that guarantees a cleaner home for you and your family. Plus, you can customize it with essential oils for a pleasant scent. Stick around to discover best practices for application and tips for different flooring types!
Key Takeaways
- The two essential ingredients for a DIY floor cleaner are vinegar and water, mixed in equal parts (1:1 ratio).
- Vinegar acts as a natural disinfectant, effectively breaking down grime and eliminating odors.
- This mixture is safe for families and pets, making it an eco-friendly cleaning option.
- Optional essential oils can be added for scent and enhanced antibacterial properties.
- Use a spray bottle for easy application and ensure proper mixing for effective cleaning.
The Benefits of Using a DIY Floor Cleaner
When you choose a DIY floor cleaner, you not only save money but also create a safer environment for your home. Commercial cleaners often contain harsh chemicals that can harm both your health and the environment. By opting for a DIY floor mix, you gain control over the ingredients, ensuring they’re non-toxic and eco-friendly. This mastery allows you to customize the cleaner’s scent and effectiveness based on your unique needs. Plus, making your own cleaner means you can easily adjust the formula for different surfaces, maximizing versatility. You’ll find that a simple, effective DIY floor mix can tackle grime just as well—if not better—than store-bought products, providing a cleaner, healthier living space for you and your family. Additionally, many DIY cleaners utilize natural ingredients that are proven to effectively clean and deodorize various floor surfaces without harsh chemicals. Using eco-friendly solutions can also reduce your carbon footprint and contribute to a healthier planet. This approach not only saves you money but also promotes the use of natural cleaning solutions that are safe for both your family and the environment. Moreover, vinegar, one of the key components in many DIY cleaners, is known for its antimicrobial properties that help eliminate germs and bacteria effectively. Furthermore, combining vinegar and baking soda creates a powerful reaction that enhances cleaning capabilities, making your floors shine like never before.
Ingredients You’ll Need
To create an effective DIY floor cleaner, you’ll need a few key ingredients. Vinegar’s cleaning power makes it a standout choice for cutting through grime, while adding essential oils can enhance the scent and provide additional antibacterial properties. Additionally, using an all-purpose cleaner can help maintain the shine on various surfaces in your home. Vinegar is also known for its natural disinfectant properties, making it a great option for sanitizing your floors. In fact, vinegar can effectively kill certain bacteria and viruses, making it a safe choice for disinfecting surfaces. Furthermore, using eco-friendly cleaning solutions can contribute to a healthier environment for your family. Vinegar’s ability to break down hard water stains also makes it a versatile cleaner for your floors. Let’s explore these ingredients and how they work together to keep your floors sparkling clean.
Vinegar’s Cleaning Power
Vinegar is a powerhouse for cleaning, thanks to its natural acidity that breaks down grime and eliminates odors. When you use vinegar, you harness its ability to dissolve mineral deposits and grease, making it ideal for various surfaces.
It’s effective against bacteria, ensuring your floors aren’t just clean but also sanitized. Plus, its non-toxic nature means it’s safe for your family and pets.
For best results, mix equal parts vinegar and water in a spray bottle. This simple solution will tackle tough spots and leave your floors shining.
Just remember, avoid using vinegar on stone surfaces like marble or granite, as its acidity can etch these materials. Mastering vinegar’s cleaning power will transform your home maintenance routine.
Essential Oil Benefits
Adding essential oils to your DIY floor cleaner not only enhances the scent but also boosts its cleaning properties. These concentrated plant extracts possess natural antibacterial and antifungal qualities, making them effective against germs and odors.
For instance, tea tree oil is renowned for its powerful antiseptic properties, while lavender oil offers a soothing aroma and additional antimicrobial benefits. When you incorporate these oils, you’re not just masking unpleasant smells; you’re actively eliminating them.
Additionally, oils like lemon and peppermint add freshness and invigorate your space. By selecting oils that resonate with your preferences, you customize your cleaner, elevating your cleaning routine.
Mastering the art of using essential oils transforms an ordinary cleaner into a potent ally in your quest for a pristine home.
Mixing Ratios for Optimal Cleaning
When it comes to mixing your DIY floor cleaner, the right ratios can make a significant difference in cleaning effectiveness. For ideal results, aim for a 1:1 ratio of your primary cleaning ingredient to water. This balance guarantees you harness the full potency of the cleaner while avoiding residue that can dull your floors. Additionally, using natural cleaning solutions can enhance the disinfecting properties of your cleaner. Vinegar and baking soda, when combined, provide a powerful cleaning duo that can tackle tough stains and odors effectively. When you opt for eco-friendly cleaners, you not only create a safer home environment but also contribute to reducing harsh chemicals in our ecosystems. It’s worth noting that using natural alternatives helps eliminate bacteria without harsh chemical odors. If you’re using essential oils for added fragrance or antibacterial properties, a few drops per cup of your mixture will suffice. Experimenting with these ratios allows you to find what works best for your floor type. It’s important to note that everyday ingredients can be just as effective as commercial products when used correctly.
How to Prepare Your DIY Floor Cleaner
To prepare your DIY floor cleaner, gather your ingredients and tools first to streamline the process.
This guarantees you won’t miss anything vital as you create your solution. Here’s what you’ll need:
- White vinegar: A powerful natural cleaner that disinfects and removes odors.
- Water: Essential for diluting the vinegar and making it safe for your floors.
- Spray bottle: For easy application and storage of your cleaner.
- Measuring cup: To verify accurate mixing ratios, maximizing effectiveness.
Once you have everything ready, mix equal parts of white vinegar and water in the spray bottle.
This simple yet effective combination will leave your floors clean and fresh.
Enjoy the satisfaction of mastering your own cleaning solution!
Best Practices for Application
When applying your DIY floor cleaner, it’s essential to mix your ingredients properly to guarantee effectiveness.
Using the right application tools can make a significant difference in how well the cleaner works.
Don’t underestimate the importance of allowing your floors to dry completely for a spotless finish.
Proper Mixing Techniques
Mixing your DIY floor cleaner correctly is vital for achieving ideal results. To master this process, follow these best practices:
-
Use the Right Ratios****: Stick to the recommended proportions of your two ingredients for maximum effectiveness.
-
Combine Thoroughly: Mix until the solution is uniform, guaranteeing that each application delivers consistent cleaning power.
-
Use Room Temperature Water****: If you’re adding water, make sure it’s at room temperature to help dissolve the ingredients better.
-
Label Your Mixture: Clearly label your container with the contents and date to avoid confusion and maintain freshness.
Application Tools Recommended
Choosing the right application tools can greatly enhance your DIY floor cleaning experience. A high-quality microfiber mop is essential; it effectively lifts dirt without scratching your floor’s surface.
Pair it with a spray bottle to control the distribution of your cleaner. This allows you to apply the solution evenly, ensuring every part of your floor gets the attention it deserves.
For stubborn stains, consider using a soft-bristle brush to gently scrub the area without causing damage. Always have a bucket handy to rinse your mop frequently, keeping it effective throughout the cleaning process.
Finally, don’t underestimate the power of a good pair of gloves to protect your hands and maintain hygiene while you work.
Drying Time Importance
While you might be keen to get back on your freshly cleaned floor, understanding the importance of drying time can make a significant difference in the overall results.
Rushing this process can lead to streaks, residue, or even damage to your flooring. To master the drying phase, keep these best practices in mind:
-
Ventilation: Open windows or use fans to enhance airflow and reduce drying time.
-
Temperature: Aim for a warm environment; cooler spaces can prolong drying.
-
Thin Layers: Apply your cleaner in thin, even layers to facilitate quick drying.
-
Timing: Allow at least 30 minutes before walking on the surface to guarantee proper drying.
Tips for Different Flooring Types
When it comes to cleaning your floors, understanding the specific needs of different materials can make all the difference.
For hardwood floors, use a damp cloth instead of soaking them, which can warp the wood.
With tile, verify you’re using a cleaner that won’t dull its finish; a vinegar solution works wonders.
For laminate, avoid abrasive cleaners, as they can scratch the surface.
If you have vinyl flooring, your DIY cleaner should be diluted to prevent damage.
Always test your cleaner in a hidden area first to avoid surprises.
Finally, remember to follow up with a dry mop to pick up any residue, guaranteeing your floors shine without streaks or buildup.
Master these tips, and your floors will thank you!
Storing Your Homemade Cleaner
After you’ve crafted your DIY floor cleaner, proper storage is key to maintaining its effectiveness and guaranteeing safety.
Follow these tips to store your cleaner like a pro:
-
Use a Dark Container****: Light can degrade the ingredients, so opt for a dark glass or opaque plastic bottle.
-
Label Clearly: Write the contents and date on the label to avoid any mix-ups and to keep track of freshness.
-
Store in a Cool Place: Keep your cleaner away from direct sunlight and heat sources to preserve its potency.
-
Keep Out of Reach: Ascertain the cleaner is stored in a secure location, especially if you have children or pets.
Frequently Asked Questions
Can I Use This Cleaner on All Floor Types?
You can use this cleaner on most floor types, but it’s best to test a small area first. Some surfaces, like untreated wood, might absorb moisture, so proceed with caution to avoid any damage.
How Often Should I Clean My Floors With This Solution?
You should clean your floors with this solution weekly for ideal maintenance, especially in high-traffic areas. Adjust frequency based on foot traffic and visible dirt, ensuring your floors always look their best and stay hygienic.
Is This Cleaner Safe for Pets and Children?
Yes, this cleaner’s safe for pets and children. It’s made from natural ingredients, so you don’t have to worry about harmful chemicals. Just make certain the area’s dry before letting them roam freely afterward.
Can I Add Essential Oils for Fragrance?
Yes, you can definitely add essential oils for fragrance. Just make sure you’re using pet-safe and child-safe options. A few drops will enhance your cleaner’s scent while keeping your home fresh and inviting. Enjoy experimenting!
What if I Accidentally Spill the Cleaner?
If you spill the cleaner, quickly blot the area with a clean cloth to absorb it. Don’t rub, as that could spread the liquid. Clean the surface afterward to guarantee no residue remains.