Keep Your Shower Grout Mold-Free With This 2-Ingredient Mix
To keep your shower grout mold-free, mix equal parts baking soda and white vinegar to create an effective cleaning paste. Simply combine the ingredients in a bowl, applying the mixture to any mold or stains. Scrub with a small brush and rinse thoroughly. Regular maintenance, like daily rinsing and monthly deep cleaning, will further prevent mold growth. With this simple solution, you’ll maintain a clean and healthy bathroom, and there’s more helpful tips just ahead.
Key Takeaways
- Combine equal parts baking soda and white vinegar to create a powerful mold-fighting paste for your shower grout.
- Apply the mixture to mold-prone areas using a small brush or toothbrush for effective cleaning.
- Allow the solution to sit on stubborn stains for a few minutes before scrubbing to enhance its effectiveness.
- Rinse and thoroughly dry the area after cleaning to prevent moisture buildup and future mold growth.
- Regularly maintain grout by cleaning weekly and sealing every three to six months to keep it mold-free.
Understanding the Causes of Mold in Shower Grout
Mold thrives in damp environments, and your shower grout often provides the perfect breeding ground. This porous material absorbs moisture, creating an ideal habitat for mold spores. Regularly applying a DIY cleaning solution can help mitigate this issue and keep your grout looking fresh. To further prevent mold, consider using eco-friendly cleaning solutions that are gentle yet effective. Additionally, maintaining proper air circulation in your bathroom can significantly decrease humidity levels and hinder mold growth.
A natural anti-mold spray made with essential oils can also enhance your cleaning routine and provide additional protection against mold. When you shower, steam and water accumulate, leading to persistent humidity. If your bathroom lacks proper ventilation, the moisture lingers longer, exacerbating the problem. Additionally, any cracks or gaps in your shower grout can harbor mold, allowing it to flourish undetected. Regular cleaning is essential, but it’s equally important to address the root causes. Implementing a simple weekly cleaning routine can significantly reduce the likelihood of mold growth.
Benefits of Using a Natural Cleaning Solution
While many commercial cleaners contain harsh chemicals that can be tough on both your health and the environment, using a natural cleaning solution offers a safe and effective alternative.
By choosing natural ingredients, you minimize your exposure to toxic substances that can irritate your skin and respiratory system. Additionally, these solutions are biodegradable, reducing their environmental impact. This is critical because eco-friendly cleaning contributes to a healthier planet. Natural cleaning solutions often include common household items like vinegar and baking soda, which are effective against mold and grime. Moreover, many natural disinfectants are proven to be just as effective as their chemical counterparts in killing germs and bacteria, making them a reliable choice for home sanitization. Studies have shown that pet-safe natural cleaning solutions can help reduce allergens and improve indoor air quality.
You’ll also find that natural cleaners are often less expensive, allowing you to save money while maintaining a clean space. Furthermore, they’re versatile; you can use them not just in the shower, but throughout your home.
Embracing a natural approach not only enhances your cleaning routine but also promotes a healthier living environment for you and your family. This shift to natural cleaners is a proactive step towards ensuring a safer bathroom experience.
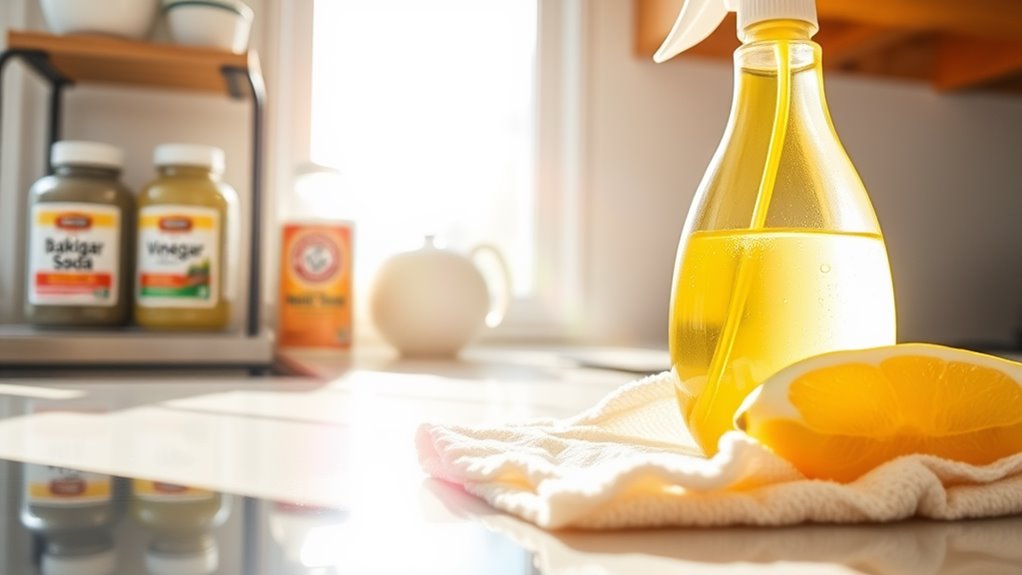
Ingredients Needed for the 2-Ingredient Mix
To effectively tackle shower grime and prevent mold growth, you only need two simple ingredients: baking soda and white vinegar.
Baking soda, a powerful abrasive, helps lift dirt and stains without scratching your tiles. It’s also a natural deodorizer, ensuring your shower smells fresh. Additionally, baking soda is known for its natural cleaning properties, making it an ideal choice for a chemical-free cleaning routine. Moreover, baking soda can also be used to unclog drains naturally, highlighting its versatility in household cleaning tasks. Its effectiveness is enhanced when paired with a simple spray solution, which can make the cleaning process even easier. This versatile ingredient is also a key component in many natural disinfectants, further showcasing its usefulness.
White vinegar, on the other hand, is a potent acid that dissolves mineral deposits and kills mold spores. When combined, these ingredients create a dynamic cleaning duo that not only cleans but also protects your grout from future mold infestations. Furthermore, this mix is safe for most surfaces, making it ideal for regular use in your bathroom.
You can easily find both items in your kitchen or local grocery store, making this mix an accessible choice for anyone aiming for a pristine shower. Mastering this blend will elevate your cleaning routine to new heights.
Step-by-Step Instructions to Create the Mixture
Now that you’ve gathered your ingredients, it’s time to mix them together.
You’ll want to follow a simple process to guarantee everything combines effectively.
After mixing, I’ll share some tips on how to store and use the mixture for the best results.
Required Ingredients Overview
Creating an effective cleaning mixture for your shower grout requires just a few simple ingredients.
You’ll be pleased to know that you likely have them on hand, making this process straightforward and efficient.
Here’s what you need:
- Baking soda: A powerful, natural abrasive that helps lift grime.
- White vinegar: Its acidity cuts through mold and mildew effectively.
- A mixing bowl****: To combine your ingredients seamlessly.
- A spoon or spatula: For thorough mixing to create a uniform paste.
- An airtight container: To store any leftover mixture for future use.
With these ingredients, you’re well on your way to mastering a mold-free shower environment.
Enjoy the satisfaction of a clean and fresh space!
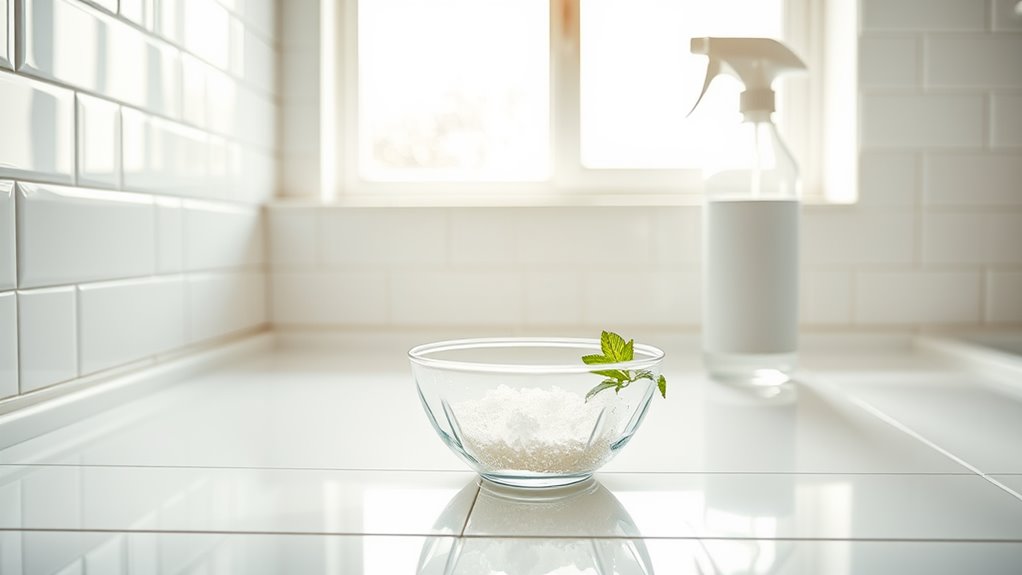
Mixing Process Explained
With your ingredients ready, it’s time to mix them into a powerful cleaning paste.
Begin by measuring equal parts of your chosen ingredients—typically baking soda and vinegar. In a mixing bowl, add the baking soda first, then slowly pour in the vinegar. You’ll notice fizzing; that’s a good sign!
Stir the mixture with a spoon until it reaches a thick, paste-like consistency. If it’s too runny, add more baking soda until you achieve the desired texture. Conversely, if it’s too thick, incorporate a bit more vinegar.
Once thoroughly combined, you’ve created a potent cleaning paste that’s ready to tackle mold and grime. Master this simple process, and you’re well on your way to maintaining a pristine shower!
Storage and Usage Tips
To guarantee your powerful cleaning paste stays effective, proper storage and usage are key. Follow these tips to ascertain maximum potency and ease of use:
-
Store your paste in an airtight container to prevent moisture from degrading its effectiveness.
-
Keep it in a cool, dry place, away from direct sunlight to maintain its integrity.
-
Label the container with the date you made it, so you can track freshness.
-
Use a small amount at a time; a little goes a long way for cleaning grout.
-
Always stir the mixture before use to ascertain even consistency.
How to Apply the Cleaning Solution to Shower Grout
Now that you’ve got your cleaning solution ready, it’s time to apply it to the grout lines.
Make sure to focus on any areas with visible mold or stains for the best results.
After letting it sit, you’ll want to rinse and dry the area thoroughly to keep your shower looking fresh.
Prepare the Cleaning Solution
Creating an effective cleaning solution for your shower grout is vital in preventing mold buildup. By combining just two simple ingredients, you’ll be well on your way to achieving a pristine shower.
Here’s what you’ll need to prepare your cleaning solution:
- Baking soda: A natural abrasive that helps lift stains.
- Vinegar: Its acidic properties break down mold and mildew.
- Spray bottle: For easy application and even distribution.
- Measuring spoons: To guarantee accurate ingredient proportions.
- Stirring stick: To mix the ingredients thoroughly.
Start by mixing equal parts of baking soda and vinegar in your spray bottle. As it fizzes, stir until fully combined.
This powerful solution will effectively tackle mold while being safe for your tiles.
Apply to Grout Lines
Applying the cleaning solution to your grout lines is a straightforward process that yields impressive results.
Begin by using a small brush or an old toothbrush for precision. Dip the brush into your prepared solution, ensuring it’s well-coated but not dripping.
Focus on one grout line at a time; apply a generous amount, allowing the mixture to seep into the pores of the grout. Use firm, circular motions to work the solution into the grout, breaking down any mold or mildew.
Don’t rush—take your time to cover all areas thoroughly. For stubborn stains, let the solution sit for a few minutes before moving on.
Mastering this application technique will greatly enhance your shower’s appearance and cleanliness.
Rinse and Dry
Once you’ve scrubbed the grout lines, rinsing thoroughly is vital for removing any residue from the cleaning solution. Start by using a handheld showerhead or a cup to rinse each grout line with warm water.
Make certain that you’re removing all traces of the cleaning mix, as leftover residue can lead to mold growth. Once rinsed, dry the area effectively to prevent further moisture accumulation.
- Use a squeegee to remove excess water.
- Employ a microfiber cloth for thorough drying.
- Maintain proper ventilation in the bathroom.
- Consider using a fan to speed up the drying process.
- Check for any missed spots and reapply the solution if necessary.
With these steps, your grout will stay mold-free and fresh!
Tips for Effective Scrubbing Techniques
Scrubbing your shower grout effectively requires the right techniques to tackle stubborn mold and mildew.
Start with a stiff-bristle brush; it’ll penetrate the grout’s surface better than a sponge. Apply your 2-ingredient mix generously and let it sit for a few minutes to loosen the grime.
When you scrub, use firm, circular motions rather than back-and-forth strokes, as this helps lift the mold without spreading it. Focus on small sections at a time to guarantee thorough cleaning.
Rinse frequently to see your progress and prevent residue buildup. Finally, don’t forget to pay extra attention to corners and edges, where mold loves to hide.
Master these techniques, and you’ll keep your grout looking pristine.
Preventative Measures to Keep Grout Mold-Free
To keep your shower grout mold-free, you’ll need to establish a regular cleaning routine.
Make sure your bathroom is well-ventilated to reduce moisture buildup, and consider applying a grout sealant for extra protection.
These simple steps can make a big difference in preventing mold growth.
Regular Cleaning Routine
While you might think a quick rinse is enough, establishing a regular cleaning routine is essential for keeping your shower grout mold-free.
By committing to a consistent schedule, you can effectively prevent mold growth and maintain the appearance of your grout.
Here’s how to create an effective routine:
-
Daily Rinse: Rinse your shower surfaces after each use to remove soap scum and moisture.
-
Weekly Scrub: Use your 2-ingredient mix once a week to scrub the grout lines.
-
Monthly Deep Clean: Perform a thorough cleaning of your entire shower at least once a month.
-
Inspect Regularly: Check for any signs of mold or discoloration, addressing issues promptly.
-
Stay Organized: Keep your cleaning supplies in a designated spot for easy access.
Incorporate these steps, and your grout will thank you!
Proper Ventilation Techniques
Three key ventilation techniques can greatly reduce mold growth in your shower grout.
First, always use an exhaust fan during and after your shower. This helps to expel humid air quickly, lowering moisture levels.
Second, keep your bathroom door open while showering to encourage airflow, allowing fresh air to circulate and prevent stagnant moisture.
Finally, consider installing a window or ensuring existing ones can be opened to promote natural ventilation. If you can’t install a window, using a dehumidifier can help maintain ideal humidity levels.
Grout Sealant Application
Applying a grout sealant is a crucial step in preventing mold growth in your shower. This protective layer not only enhances your grout’s durability but also makes it resistant to moisture.
To effectively apply grout sealant, follow these essential steps:
-
Clean the grout thoroughly, removing any existing mold or mildew.
-
Make sure the grout is completely dry before application.
-
Use a high-quality sealant designed specifically for grout.
-
Apply the sealant evenly using a small brush or applicator.
-
Allow sufficient drying time as per the manufacturer’s instructions.
Frequency of Application for Best Results
Regularly applying a protective treatment to your shower grout can greatly reduce mold growth. Aim to do this every three to six months, depending on your shower’s moisture levels and usage.
If your shower sees heavy use or lacks proper ventilation, consider applying the treatment every three months for ideal results. Conversely, if your shower is less frequently used or well-ventilated, you might extend the interval to six months.
Consistency is key; even if you don’t see mold, preventive maintenance is essential to keep your grout in pristine condition. By establishing a regular schedule, you’ll guarantee that your grout remains mold-free and your shower stays looking fresh and clean.
Adopting this routine will make a significant difference in the long run.
Additional Cleaning Tips for Shower Maintenance
To keep your shower in top shape, consider incorporating a few simple cleaning habits into your routine.
Regular maintenance not only enhances appearance but also prevents mold growth.
Here are five effective tips to elevate your shower cleaning game:
-
Wipe down surfaces after each use to remove moisture and soap residue.
-
Use a squeegee on glass doors and tiles to minimize water spots.
-
Check for leaks regularly, as hidden water can lead to mold issues.
-
Ventilate your shower by keeping the door or window open to reduce humidity.
-
Replace old caulk promptly to seal any openings where mold can thrive.
Eco-Friendly Alternatives for Grout Cleaning
Keeping your shower mold-free involves not just daily habits, but also choosing the right cleaning products. Instead of harsh chemicals, opt for eco-friendly alternatives that effectively battle mold while being gentle on the environment. Here are some top choices:
| Ingredient | Benefits |
|---|---|
| Baking Soda | Natural abrasive; deodorizes |
| Vinegar | Kills mold and bacteria; disinfects |
| Essential Oils | Adds pleasant fragrance; antimicrobial |
| Lemon Juice | Natural bleach; cuts through grime |
Mix these ingredients for a powerful, eco-conscious cleaning solution. You’ll reduce your environmental footprint while mastering the art of grout cleaning. Remember to apply your chosen mixture regularly to keep mold at bay and maintain a pristine shower space.
Frequently Asked Questions
Can I Use This Mix on Colored Grout?
You can use the mix on colored grout, but test a small area first. Some ingredients might affect the color. Always verify it’s safe for your specific grout type to avoid unwanted discoloration.
How Long Does the Mixture Last After Preparation?
Once you prepare the mixture, it typically lasts about one week if stored properly in a sealed container. However, for best results, you should use it immediately to guarantee maximum effectiveness against mold.
Will This Mix Damage My Shower Fixtures?
This mix won’t damage your shower fixtures if you use it correctly. Just avoid prolonged contact with metal or sensitive surfaces. Always rinse thoroughly after application to maintain your fixtures’ shine and integrity.
Can I Use Vinegar Instead of Baking Soda?
Yes, you can use vinegar instead of baking soda, but the results might differ. Vinegar’s acidity effectively cuts through grime, yet it won’t provide the same scrubbing power as baking soda. Experiment to find your ideal solution.
Is This Cleaning Method Safe for Pets?
Yes, this cleaning method is safe for pets when used correctly. Guarantee proper ventilation and rinse surfaces thoroughly afterward. Always monitor your pets during cleaning to prevent any unintended exposure to residue or fumes.