I Use This One Ingredient to Keep My Sink Shiny All Week
Baking soda is your go-to ingredient for keeping your sink shiny all week! Just sprinkle it over a damp sink, scrub with a soft sponge, and watch stains lift away effortlessly. This natural cleaner not only restores shine but also prevents grime buildup, safeguarding your sink’s aesthetic appeal. Plus, you can create a powerful paste by mixing it with water. Want to discover more ways to elevate your sink cleaning game?
Key Takeaways
- Baking soda is the key ingredient for keeping your sink shiny and removing stains effectively.
- Regularly sprinkle baking soda over a damp sink and scrub in circular motions to lift grime.
- Create a paste with baking soda and water for tackling stubborn stains and neutralizing odors.
- Daily rinsing and wiping with a microfiber cloth help maintain the sink’s shine and prevent water spots.
- Implement a weekly routine with baking soda to provide lasting shine and protect against bacteria growth.
The Power of Baking Soda
When it comes to keeping your sink shiny, baking soda is often your best friend. This versatile powder works wonders in restoring that gleaming finish you crave.
Start by sprinkling a generous amount of baking soda over your damp sink, focusing on any stained areas. Grab a soft sponge and gently scrub in circular motions. As you do this, you’ll notice how baking soda lifts grime and stains effortlessly, revealing your sink’s natural shine. Additionally, natural cleaning solutions like baking soda can help prevent clogs in your kitchen drains over time. The combination of vinegar and baking soda creates a powerful cleaning reaction that can tackle tougher stains effectively. Using steam cleaning methods can also enhance the sanitizing process without harsh chemicals. Vinegar serves as an excellent natural disinfectant that can further eliminate germs and odors when combined with baking soda.
Rinse thoroughly to wash away any residue, and admire your work. For an extra boost, mix baking soda with a bit of vinegar to create a fizzing reaction that further enhances your sink shine. Applying baking soda weekly ensures that your sink remains spotless and prevents water spots and buildup.
Trust in baking soda; it’s a simple yet powerful tool for maintaining brilliance.
Why Your Sink Needs Regular Care
Your sink needs regular care to keep bacteria at bay and maintain its shine. A clean sink not only looks great but also protects your health by preventing germs from multiplying. Implementing natural cleaning solutions can enhance your cleaning routine, ensuring a safer and more effective sanitization process. Regular cleaning not only improves sanitization effectiveness but also helps to extend the lifespan of your sink. Additionally, using steam cleaning can effectively eliminate stubborn grime and bacteria without the use of harsh chemicals. Regular maintenance of your sink can also help to prevent clogging issues that may arise from the buildup of food particles and grease. By adopting a quick daily routine, you can achieve effortless cleanliness that keeps your sink sparkling all week long.
Preventing Bacteria Growth
Although sinks are often overlooked in daily cleaning routines, neglecting them can lead to an unhealthy buildup of bacteria. Bacteria thrive in damp environments, making your sink a prime breeding ground if left uncleaned.
Regularly scrubbing your sink with a disinfectant not only eliminates germs but also prevents them from proliferating. You should focus on high-touch areas, like the faucet handles and the drain, where bacteria often accumulate.
Consider using a solution that cuts through grease while effectively killing pathogens. By making this a weekly habit, you’ll drastically reduce the risk of contamination.
Maintaining Aesthetic Appeal
While it might seem trivial, regularly caring for your sink can greatly enhance its aesthetic appeal and the overall look of your kitchen. A shiny, well-maintained sink serves as a focal point, elevating the entire space. Neglecting it can lead to unsightly stains and grime.
| Maintenance Task | Frequency |
|---|---|
| Deep Clean | Weekly |
| Wipe Down | Daily |
| Check for Scratches | Monthly |
| Polish | Every 2 weeks |
Preparing Your Sink for Cleaning
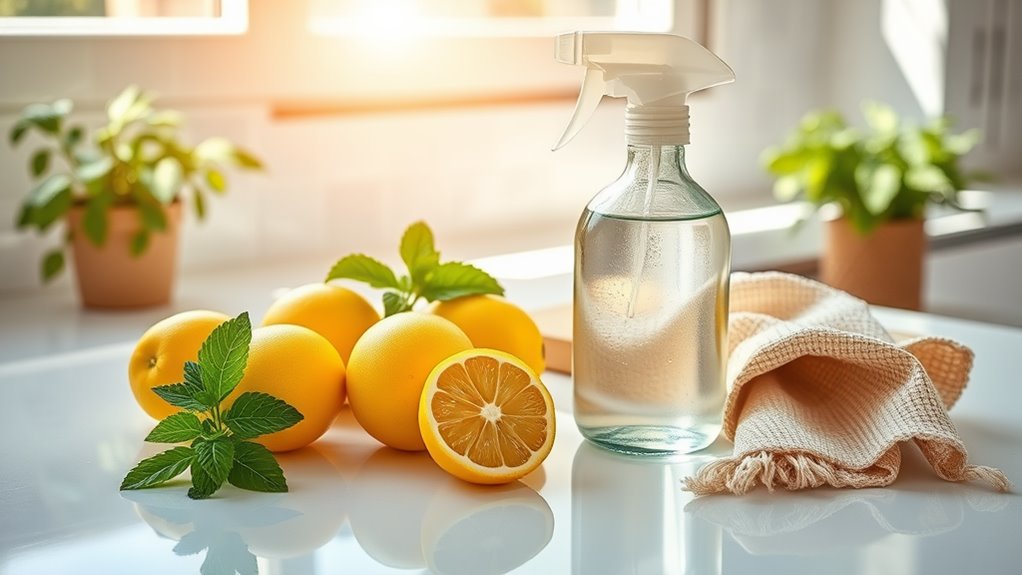
Before you start cleaning your sink, gather all the supplies you’ll need, like a sponge, cleaner, and cloth. To make your cleaning process even more effective, consider using eco-friendly cleaners that can be made at home for a more sustainable approach. Clear the sink area of any dishes or clutter to give yourself enough space to work. Finally, rinse the sink to remove any loose debris, setting the stage for a thorough clean. Incorporating an all-purpose cleaning spray can help maintain the shine on your appliances and surfaces. Additionally, using natural ingredients in your cleaning solution can enhance its effectiveness while being gentle on the environment. Using ingredients like vinegar and baking soda can create a powerful eco-friendly cleaner that is safe for your household. For an even better result, try adding citrus peels to your vinegar solution, as they can boost its cleaning power and leave a fresh scent.
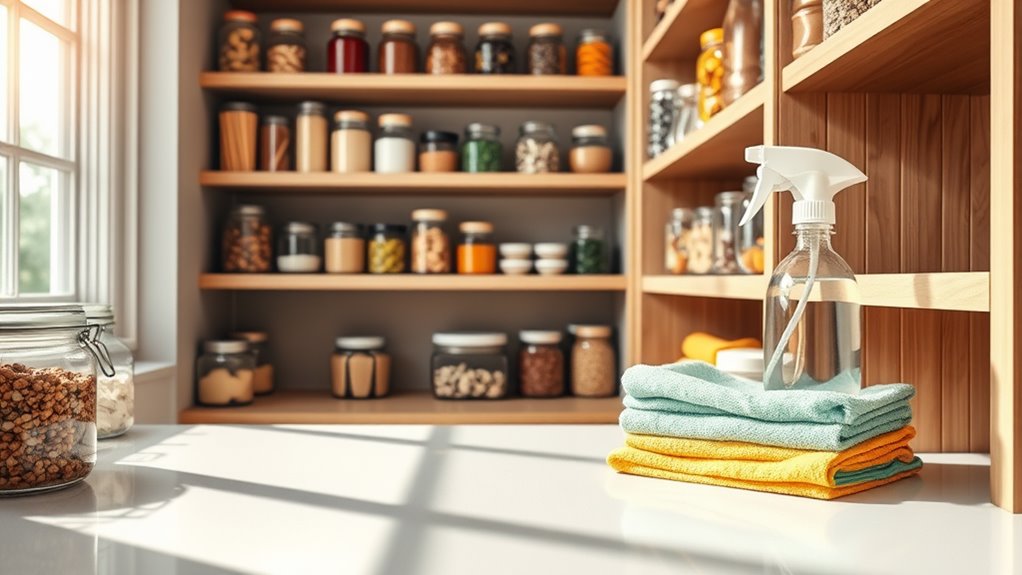
Gather Cleaning Supplies Needed
To effectively clean your sink, you’ll need a few essential supplies on hand. Start with a non-abrasive sponge or cloth to prevent scratches.
Next, grab a bottle of dish soap—this will help break down grease and grime. For that extra shine, gather a bottle of white vinegar or lemon juice; both are excellent natural cleaners.
Don’t forget a soft microfiber cloth for drying and polishing your sink afterward. If you’re tackling tough stains, you might want to include baking soda, which acts as a gentle abrasive.
Finally, have a pair of rubber gloves ready to protect your hands. With these supplies, you’re set to achieve a sparkling clean sink that shines all week!
Clear the Sink Area
Clearing the sink area is essential for an effective cleaning session, as it allows you to focus on every nook and cranny without distractions.
Start by removing any dishes, utensils, or clutter that might be lingering. Organize items you need to keep close by, placing them on a nearby countertop or table. If you have any sponges or cleaning tools, set them aside where they’re easily accessible.
Next, check for any personal items or decorative objects that could obstruct your cleaning process. Don’t forget to clear the area underneath the sink too; guarantee you can easily access the plumbing if needed.
Rinse and Remove Debris
Rinsing and removing debris is an essential step in preparing your sink for a thorough clean. Begin by turning on the hot water and letting it flow for a few moments. This helps to soften any stuck-on food or grime. Use a sponge or cloth to wipe away loose particles, making certain you tackle every corner.
Here’s a quick reference table to guide your process:
| Step | Action | Tips |
|---|---|---|
| Rinse | Run hot water | Use a sprayer if available |
| Remove Debris | Wipe with a sponge | Focus on edges and crevices |
| Final Rinse | Flush with water | Make sure no residue remains |
The Perfect Baking Soda Paste
Baking soda is a powerful ally in your quest for a sparkling sink. This versatile ingredient can easily transform into a paste that tackles grime and stains with ease.
To create the perfect baking soda paste, follow these essential steps:
- Combine three parts baking soda with one part water.
- Mix until you achieve a thick, spreadable consistency.
- Adjust the ratio as needed to suit your sink’s specific requirements.
This paste excels at lifting stubborn stains and neutralizing odors, making it indispensable for sink maintenance.
With just a few simple ingredients, you can guarantee your sink remains pristine and inviting. Mastering this technique sets you on the path to effortless maintenance and a consistently shiny sink.
Embrace the power of baking soda!
Applying the Baking Soda Mixture
Start by applying the baking soda mixture generously to your sink’s surface. Use a soft cloth or sponge, ensuring you cover every area, especially around the faucet and drain where grime tends to accumulate. As you work, visualize the transformation your sink will undergo, reflecting your commitment to cleanliness.
| Feeling | Action | Result |
|---|---|---|
| Frustration | Scrubbing away dirt | A clean slate |
| Anticipation | Spreading the paste | Shiny surface |
| Satisfaction | Wiping down surfaces | Sparkling sink |
| Mastery | Perfecting technique | Impressive shine |
With patience and attention to detail, you’ll harness the power of baking soda, setting the stage for a gleaming finish. Embrace the process and enjoy the journey to mastery!
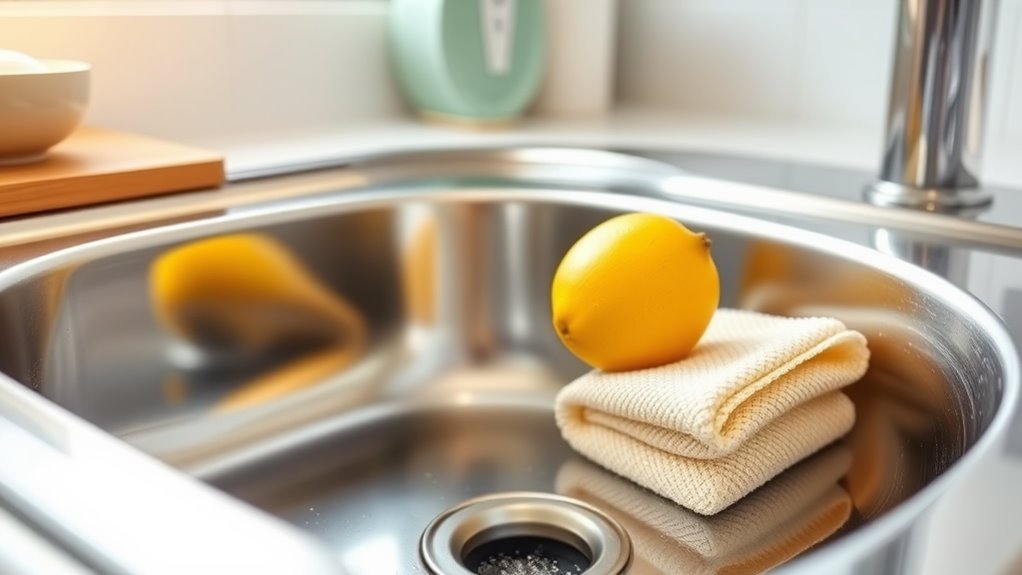
Rinsing and Buffing for Shine
Once you’ve applied the baking soda mixture, it’s time to rinse your sink with warm water.
Use a soft cloth to wipe away any residue, ensuring you don’t scratch the surface.
Finally, buff the sink to a brilliant shine for that perfect finish.
Rinse With Warm Water
A thorough rinse with warm water can make a world of difference in achieving that coveted shine for your sink. After cleaning, don’t skip this essential step. Warm water helps dissolve any remaining residue while enhancing the luster of your sink’s surface.
Consider these key points for rinsing effectively:
-
Temperature Matters: Warm water loosens grime better than cold, ensuring a more thorough rinse.
-
Focus on Edges: Pay attention to corners and edges where soap scum tends to linger.
-
Rinse Length: Spend a few extra seconds rinsing to fully remove any cleaning agents; this keeps your sink looking pristine.
Use Soft Cloth
After rinsing your sink with warm water, grab a soft cloth to take your cleaning routine to the next level.
Choose a microfiber or cotton cloth, as these materials effectively trap dirt and debris without scratching your sink’s surface.
With gentle yet firm strokes, wipe down the entire sink, focusing on any spots or stains. This not only removes remaining residue but also helps prevent water spots from forming.
Make sure to switch to a clean section of the cloth frequently to avoid spreading grime.
By using a soft cloth, you’re enhancing the shine and maintaining the sink’s pristine condition.
This simple step elevates your cleaning game and sets you up for a brilliant finish.
Buff to Shine
To achieve that sparkling finish, rinsing your sink thoroughly is essential before you start buffing.
Make certain to remove any residue or cleaner, as these can dull the shine. Once rinsed, grab a soft, lint-free cloth and start buffing in circular motions. This technique guarantees that you’re evenly distributing the shine across the surface.
Here are a few tips to maximize your buffing technique:
- Use a microfiber cloth****: It traps dust and dirt while polishing effectively.
- Work in sections: Focusing on small areas prevents streaks and assures thorough coverage.
- Apply light pressure: Too much force can scratch the surface, so let the cloth do the work.
With these steps, your sink will gleam all week!
Preventing Future Buildup
While keeping your sink clean is essential, preventing future buildup can save you time and effort in the long run.
Start by rinsing your sink after each use. This simple habit removes food particles and soap residue that can lead to stains.
Next, consider using a sink mat or liner to protect the surface from scratches and grime. Regularly inspect and clean your faucet aerator, as mineral deposits can accumulate over time.
Additionally, implement a weekly maintenance routine using your secret ingredient to create a protective barrier against stains.
Finally, wipe down the sink daily with a microfiber cloth to avoid water spots.
Additional Tips for Maintenance
Although you’ve established a solid cleaning routine, incorporating a few additional tips can enhance your sink maintenance.
By following these strategies, you’ll guarantee your sink remains in pristine condition throughout the week.
-
Rinse After Use: Always rinse your sink after washing dishes to prevent soap residue buildup.
-
Dry It Off: Use a microfiber cloth to dry your sink after cleaning. This reduces water spots and streaks.
-
Check for Leaks: Regularly inspect your faucet and pipes for leaks to prevent water damage and maintain your sink’s integrity.
Other Uses for Baking Soda in the Kitchen
Baking soda isn’t just a handy tool for keeping your sink clean; it also has a variety of other uses in the kitchen that can simplify your cooking and cleaning tasks.
You can use it to neutralize odors in your fridge by placing an open box inside. When it comes to baking, it acts as a leavening agent, giving your bread and cakes that perfect rise.
If you’ve got stubborn stains on cookware, make a paste with water and scrub it away effortlessly. For freshening up your sponges, soak them in a baking soda solution.
Finally, if you’re boiling vegetables, adding a pinch can help retain their vibrant color. Embrace these versatile uses and elevate your kitchen experience!
Eco-Friendly Cleaning Benefits
Using eco-friendly cleaning solutions like baking soda not only helps keep your sink shiny but also benefits the environment. By choosing natural alternatives, you’re making a conscious decision to reduce harmful chemicals in your home and the planet.
Here are some key eco-friendly cleaning benefits:
-
Less Toxicity: Ditch harmful substances that can affect your health and your family’s well-being.
-
Biodegradable: Ingredients like baking soda break down easily, reducing pollution and waste.
-
Cost-Effective: Eco-friendly options often save you money, as they can replace multiple commercial products.
Embracing these practices not only elevates your cleaning game but also aligns your household with sustainable values.
You’ll master the art of cleanliness while being a responsible steward of the environment.
Frequently Asked Questions
Can I Use Baking Soda on Other Surfaces Besides My Sink?
Absolutely, you can use baking soda on various surfaces! It effectively cleans countertops, stovetops, and even bathrooms. Just sprinkle it, scrub gently, and rinse. You’ll enjoy its versatility and natural cleaning power throughout your home.
How Often Should I Apply the Baking Soda Paste?
You should apply the baking soda paste weekly for ideal results. However, if you notice persistent stains or odors, don’t hesitate to use it more frequently. Your surfaces will thank you for the extra care!
Is Baking Soda Safe for All Sink Materials?
Baking soda is generally safe for most sink materials like stainless steel and porcelain. However, avoid using it on natural stone surfaces, as it can scratch or dull their finish. Always test in an inconspicuous area first.
Can I Mix Baking Soda With Other Cleaning Agents?
You can mix baking soda with other cleaning agents, but be cautious. Combining it with vinegar creates a reaction. It’s best to test mixtures on a small area first, ensuring compatibility with your sink material.
What Should I Do if My Sink Still Looks Dull?
If your sink still looks dull, try scrubbing it with a mixture of vinegar and baking soda. Rinse thoroughly, then dry with a microfiber cloth to restore its shine and prevent water spots from forming.